This post is the first in a series of three on UIKeyCommands on iOS. In this first post, we’ll go over UIKeyCommand at a high level.
What are UIKeyCommands?
UIKeyCommands represent a key press (or combination of key presses) on a hardware keyboard that will trigger an action. In short, you can think of these as keyboard shortcuts. The system already has a few built-in keyboard shortcuts. Some of these are keyboard shortcuts are Cut (⌘ + x), Copy (⌘ + c), and Paste (⌘ + v).
Beginning in iOS 7, Apple started allowing developers to implement keyboard shortcuts. The system already handles Cut, Copy and Paste and developers won’t need to implement these.
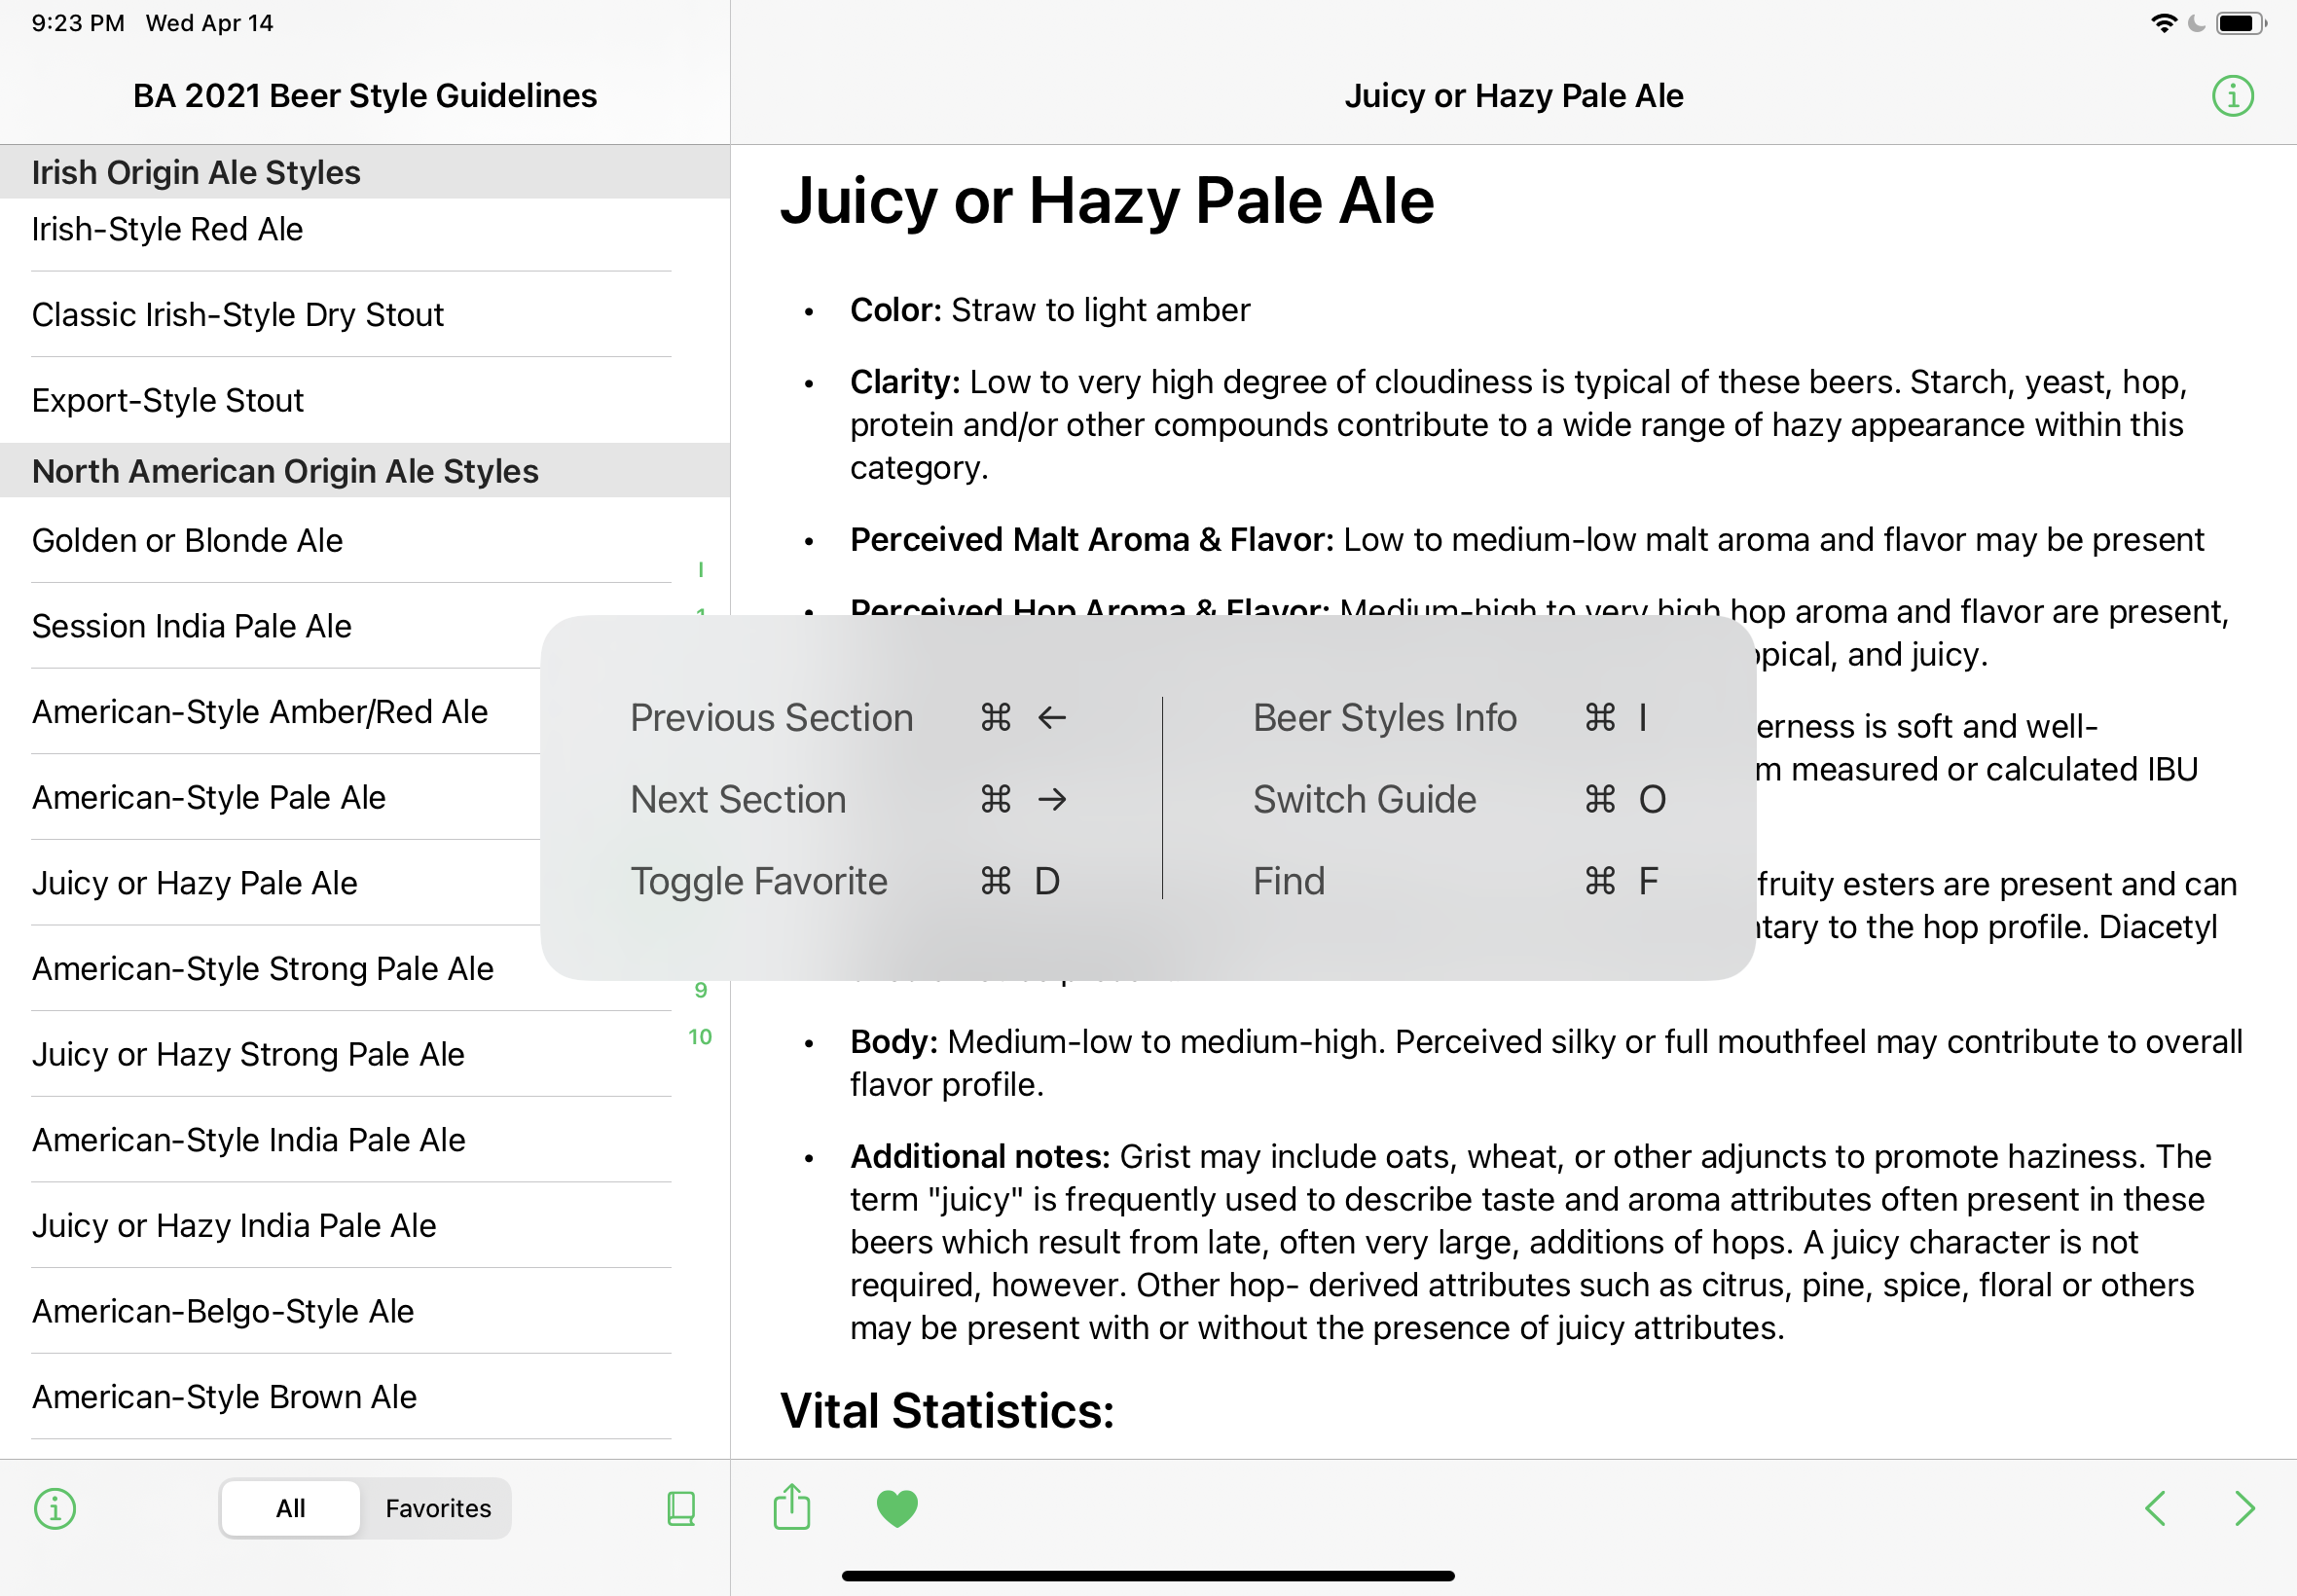
These keyboard shortcuts have been around for a few years. So, it’s easy to see how other developers have implemented these. A great way to discover what keyboard shortcuts apps have is to launch the app, and then hold down the command (⌘) key. Here’s an example from my app Beer Style Guidelines.
How do I implement my own UIKeyCommand?
There are two parts to implement UIKeyCommands in your app. First, is the UIKeyCommand object itself. Then these UIKeyCommands need to be integrated into the app.
The initializer for UIKeyCommand has a lot going on. You don’t need to use every parameter. Here are the minimum parameters to create a UIKeyCommand object. Those parameters are:
title: This is the display title of the keyboard shortcut.action: This parameter points to the method that gets called from this shortcut.input: This is the keyboard key (a string) that is part of the keyboard shortcut. For example, the “c” in the Copy shortcut (⌘ + c)modifierFlags: This is the modifying key that is the other part of the keyboard shortcut. For example, the “⌘” in the Copy shortcut (⌘ + c)
Putting all of this together, you can create a keyboard shortcut like this:
    let infoCommand = UIKeyCommand(title: "Show Info",
                                   action: #selector(showInfo),
                                   input: "i",
modifierFlags: .command)In this example, the user will trigger a keyboard shortcut to show info when they use ⌘ + i. This will show them an iOS alert with a simple message in it.
I’ve created a sample app that pulls all the various pieces together. The sample app, is simple. It has a single keyboard shortcut. You can discover this just like keyboard shortcuts in other iOS apps.
Download and run the sample app. Once launched, hold down on the Command key (⌘) until you see the prompt showing the single keyboard shortcut within the app.
Testing in the simulator.
If nothing shows up, and you’re testing this in the simulator, you may need to enable “Send Keyboard Input to Device” in the simulator. This can be done through the menu system by selecting I/O → Input → Send Keyboard Input to Device. Or, you can click on this button in the toolbar (below) of the simulator. Without doing this, sometimes the keyboard shortcuts can be lost, and it will seem like the keyboard shortcuts are not working.

That’s it. Keyboard shortcuts are straightforward to set up and get working in your apps. Next time we’ll get a little more in-depth on UIKeyCommand.